Your travel eSIM before you fly: a calm 24-hour setup plan
The best time to solve mobile-data questions is before the airport. This simple timeline takes you from purchase to a tested arrival setup without starting your plan too early.
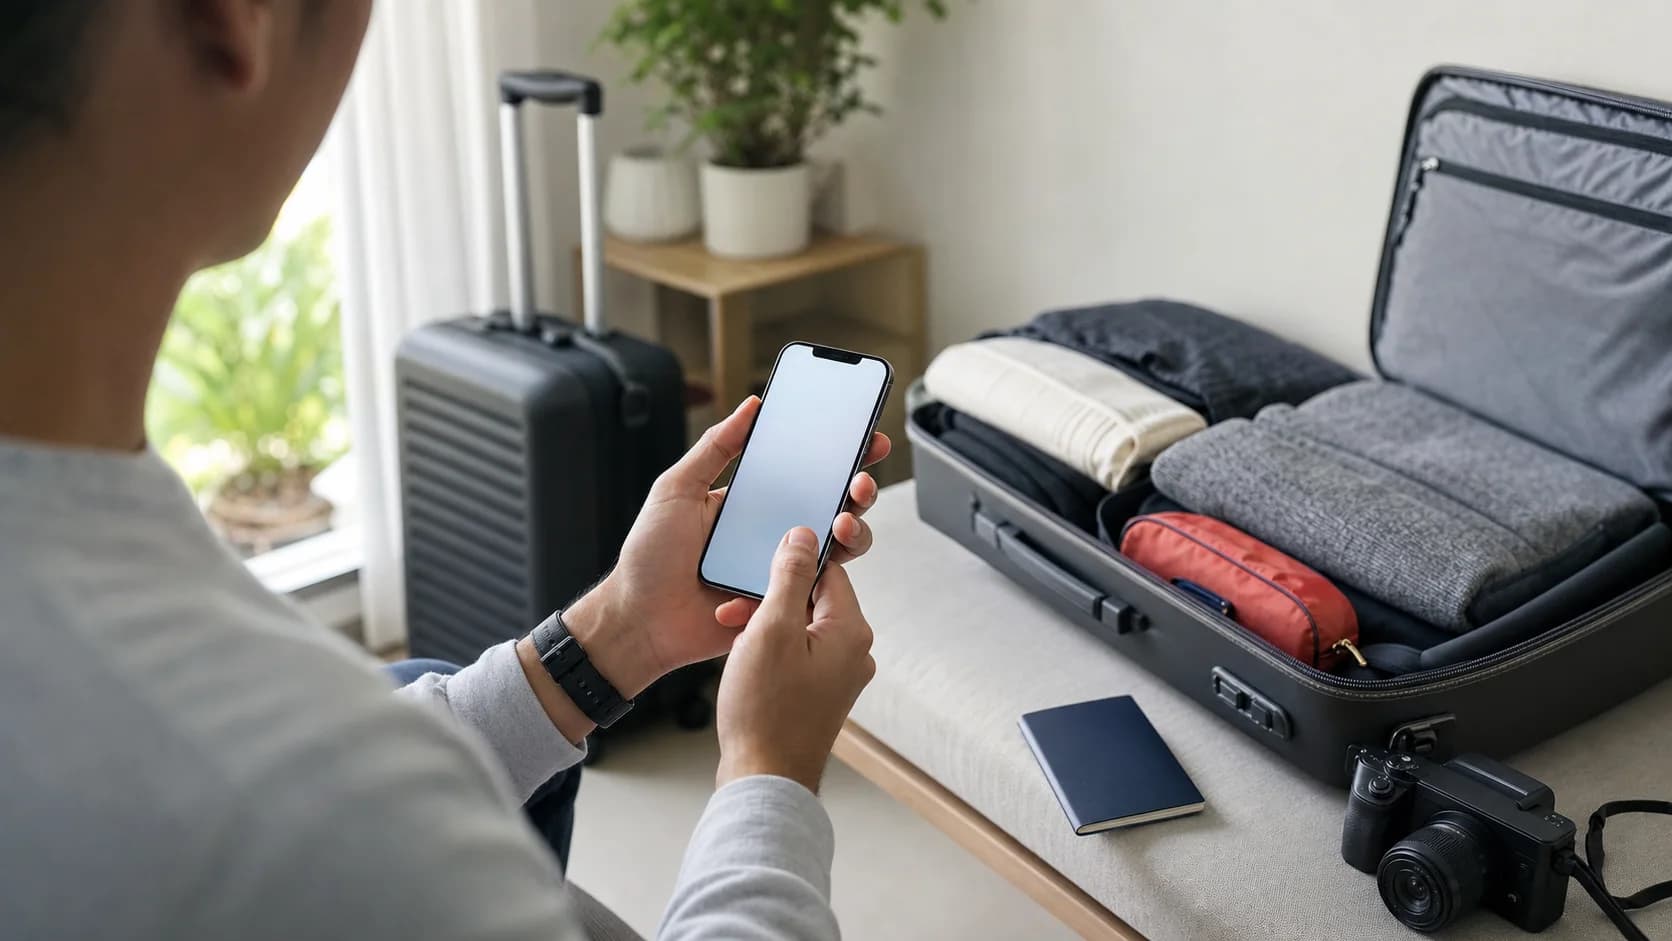
Buy the plan after confirming every destination is covered, install it on reliable Wi-Fi, label the new line clearly, and keep the QR code somewhere other than the phone. Do not assume installation starts the validity period: read the plan’s activation rule. After landing, turn on the travel line, select it for mobile data, enable roaming for that line when instructed, and test with Wi-Fi switched off.
Match the plan to the whole trip
Start with the itinerary, not the data allowance. Write down every country where you expect to use mobile data, including a stopover if you plan to leave the airport or need connectivity during a long connection. A country plan can be ideal for one destination; a regional or global plan may be simpler when the route crosses borders.
Open the coverage list and check destinations by name. A headline such as “Europe” or “global” is useful shorthand, but the exact country list is what you are buying. Then compare the data amount, validity period, hotspot policy, and whether the plan is data-only. Most travel eSIMs do not replace your usual phone number.
Coverage
Confirm every destination you need, not just the first airport on the route.
Validity
Make sure the plan lasts through the final travel day, with a little margin for delays.
Activation rule
Check whether validity begins on installation, on first network connection, or at another stated event.
Phone features
Verify hotspot use and any speed or fair-use conditions if those matter to your trip.
A useful rule
If two plans look similar, choose using the exact coverage and activation terms—not the biggest country count or the loudest “unlimited” label.
Confirm that the phone is ready
A compatible plan cannot fix an incompatible or carrier-locked phone. Look for an Add eSIM, Add Cellular Plan, or SIM Manager option in settings, then check the manufacturer’s documentation for your exact model and market. Phones with the same product name can have different SIM capabilities in different countries.
The device also needs to be unlocked for use with another carrier. On an iPhone, Apple says an unlocked phone shows “No SIM Restrictions” beside Carrier Lock under Settings, General, About. On Android, the wording varies, so check with the carrier that sold the phone if the lock status is unclear.
Device model
Check the full model, not only the product family or release year.
Carrier lock
Confirm the device can accept a plan from a different provider before paying.
Available eSIM slot
Some phones can store several profiles but keep only one or two lines active at once.
Install on Wi-Fi, then stop at the right moment
Install while you have stable Wi-Fi, time to read each screen, and access to the purchase email on another device if possible. Scanning the QR code from the same phone is awkward; opening it on a laptop or a companion’s phone makes the process calmer. If the provider supplies manual activation details, save those too.
Installation adds the eSIM profile to the phone. Activation is the point at which the plan’s service or validity begins, and providers do not all define that point in the same way. Follow the instructions that came with the specific plan. If they say the plan begins at first connection in the covered destination, you can usually install ahead and leave the line off until arrival. If the instructions say otherwise, use their timing.
Name the new line “Travel”
A clear label prevents the home and travel lines from being confused later.
Keep the installation email
Do not archive it somewhere inaccessible until the connection is working abroad.
Do not delete a stalled profile
Many QR codes are intended for one installation and may not work a second time without support.
Set up the two lines intentionally
Dual-SIM phones separate three decisions: which line provides mobile data, which line handles ordinary calls and texts, and whether the phone may switch data lines automatically. The safest travel setup is usually to keep the home line available only for the services you genuinely need and assign mobile data to the travel line after arrival.
To reduce the risk of home-carrier roaming charges, turn off data roaming on the home line and disable automatic cellular-data switching. Keeping the home line active can still create charges for calls, voicemail, or messages depending on the carrier and plan. If cost certainty matters more than receiving those services, turn the home line off after checking how that affects messaging and account verification.
| Setting | Home line | Travel eSIM |
|---|---|---|
| Line status | On only if needed | Off until instructed or until arrival |
| Mobile data | Not selected | Select after landing |
| Data roaming | Off | On when the plan instructions require it |
| Automatic data switching | Off | Keep the travel line in control |
Charges are carrier-specific
A travel eSIM controls its own data service; it cannot prevent your home carrier from charging for activity on the home line. Check the home carrier’s roaming terms before departure.
Use one clean activation sequence
Stay on airport Wi-Fi until you have the instructions open. Then work through the settings once, in order, instead of toggling everything at random. Network registration can take a few minutes after the travel line is enabled, especially just after airplane mode is switched off.
Menu names vary between iPhone, Pixel, Galaxy, and other Android phones, but the decisions are the same. You want the travel profile turned on, chosen for mobile data, permitted to roam when the plan requires it, and allowed to select a supported network.
Turn off airplane mode
Leave airport Wi-Fi connected while you open the plan details and settings.
Turn on the travel eSIM line
Confirm the label you created before departure so you do not change the home line by mistake.
Choose it for mobile data
Only one line normally supplies mobile data at a time.
Enable data roaming for the travel line
Do this when the provider instructions require it; many travel eSIMs connect through partner networks.
Wait for network registration
Give the phone a few minutes before changing APN or manual network settings.
Prove that mobile data—not Wi-Fi—is working
A phone can appear connected while every successful test is still traveling over airport Wi-Fi. Switch Wi-Fi off for a minute, open a fresh webpage, load a route in your map app, and send a message. If those work, the travel eSIM is carrying data.
Take a screenshot of the working line settings and note the network name. That small record is useful if a later change causes trouble. Then turn Wi-Fi back on if you want to save mobile data while you remain in the terminal.
Open a new webpage
Use a page that was not already cached on the phone.
Check a map route
Navigation is one of the services you are most likely to need immediately.
Review mobile-data usage
Confirm that usage is accumulating on the travel line rather than the home line.
Switch home without erasing useful evidence
When the trip ends, select the home line for mobile data again, review its roaming setting, and turn off the travel profile. You do not need to delete the eSIM immediately. Keeping it temporarily preserves the profile details in case you need support, a usage review, or a refund assessment.
Delete the profile only when you are confident the plan is finished and you will not need to reinstall it. If the plan is reusable or can be topped up, leaving it stored—but off—may also make the next trip easier.
Quick answers
Should I install my travel eSIM before I fly?
Usually, yes: reliable home Wi-Fi makes installation easier. First read the plan’s activation rule, because providers differ on whether validity starts at installation, first connection, or another event.
Can I keep my normal phone number active?
Often, yes, on a compatible dual-SIM phone. Your home carrier may still charge for calls, messages, voicemail, or roaming activity on that line, so check its terms and keep home-line data roaming off unless you intend to use it.
Does a travel eSIM need data roaming turned on?
Many travel eSIMs use partner networks and require data roaming on for the travel line. Follow the instructions supplied with your plan, and keep roaming off on the home line unless your home carrier plan covers it.
Can I test the eSIM before I reach the destination?
You can confirm that the profile installed and appears in settings. A full mobile-data test may not be possible outside the plan’s coverage area, and attempting to connect early could start validity under some activation rules.
Manufacturer references
Settings and device behavior can change with phone models, carriers, and software updates. These official references support the device guidance in this article.